Exploring the Node Package Manager (NPM)
Learn about NPM, the JavaScript dependency ecosystem, and how to build and utilize custom NPM packages.

Abdullah Muhammad
Published on August 27, 2023 • 9 min read

Introduction
In almost all of the tutorials covered so far, we briefly touched on the Node Package Manager.
Today, we will dive deep into the Node Package Manager and use different packages to assist in building a web application.
We will cover the primary function of NPM both as a command-line tool and as a package manager.
Deep Dive into NPM
NPM stands for: Node Package Manager. It is a package manager for the JavaScript language created and maintained by NPM Inc. Official packages and third-party packages can be found here.
In fact, you can even publish your own packages to NPM. NPM is an integral part of the JavaScript ecosystem and expedites a lot of development work.
You can use published packages in your development workflow instead of building everything from scratch. NPM packages can be related to anything that helps developers perform a wide range of functions. We saw this in detail when we worked with the JWT and the Nodemailer packages.
We should also note that certain NPM packages are privileged and require payments in order to access them.
For the demo today, we will only be working with publicly available packages.
If you have worked with programming languages before, NPM is to JavaScript what Maven is to Java, PIP is to Python, and Nuget is to the .Net Framework. Prior programming experience will help you quickly grasp NPM.
Node.js & NPM Installation
When working with Node.js and NPM, we download the runtime environment locally on the machine. The Node.js installation has NPM included with it.
A directory called node_modules is usually stored in /usr/local location containing all the packages downloaded globally. We will discuss packages a bit later.
We can work with NPM in the command-line which makes certain tasks easy. An example is when we have to initialize a node environment in the workspace. We can simply run npm init and answer the following questions:
- Name
- Version
- Description
- Scripts
- Main
- Author
- License
The scripts section is interesting as it allows developers to create custom commands to represent certain tasks. This can expedite the development process.
Once all these questions are answered, a new file is created in the same location where the node environment was requested to be initialized.
This file is called the package.json file.
Package.json & Package-Lock.json Files
The package.json file contains a JSON object with all the information provided to the questions above. The package.json file’s main objective is to track dependencies of the project.
The dependencies being the NPM packages installed in assisting the development process.
When packages are installed, the package.json file will have the dependencies object automatically updated containing the name of the downloaded package along with the version number.
A separate file named package-lock.json is also created for dependency tracking. The only difference is that it locks the dependency with the installed version.
This means that whenever npm install is ran to install packages, it will install the exact latest version of that package in your application and save it in the package.json file.
For example, if the current version of a package is 1.0.0, it will save the version using the ^ symbol. The caret simply means that any version higher of this major version will be supported.
We will cover package versioning a bit later.
"These files are only tracking the name and version number of these packages, where are the actual packages stored?"
Good question. When we install packages using npm install <package-name>, along with updating the package.json file, a directory named node_modules is also created by NPM.
Node_modules Directory
The node_modules directory contains the downloaded packages. If you delete this directory, you will not be able to run your project successfully as it would have contained the necessary packages to successfully run the project.
If you kept the package.json file, you can simply run npm install and it will download all the packages with their correct version number as described in the dependencies section.
The node_modules directory can get very big in size so it is recommended to not have it committed to a central repository such as Git.
The directory should exist locally and other files such as the package.json file should be committed instead. As discussed earlier, this file contains all the information necessary to download the correct versioned packages locally.
Packages and How to Install them
When working with a JavaScript project, packages can be installed two ways:
- Global
- Local
When we install NPM packages, we have the option to install them globally (npm install -g <package-name>). There is a separate folder called node_modules which is usually stored in the /usr/local location.
This folder contains all the NPM packages installed globally. “Global” here, essentially means any project will have access to this folder and will search for the package in this folder if the required package was not found locally.
When working with a project, we are working in a local scope by default. When we run npm install <package-name>, the package is installed locally in the node_modules directory of the project and is noted as a dependency inside the package.json file.
Package Tags and Semantic Versioning
Packages are installed by their latest versions unless specified otherwise.
The following are equivalent commands to installing the latest package:
npm install <package-name>
npm install <package-name>@latest
We can do away with the latest tag as it is understood by NPM to install the latest version by default.
For the installation of a package with a specified version, the following command needs to be ran:
npm install <package-name>@<version-number>NPM packages follow semantic versioning. Here is the summary of the version syntax:
Package version: <Major Release. Minor Release. Patch Release>
Packages start at version 1.0.0.
For patch releases, the third digit is incremented. The latest version following a patch release would be 1.0.1. These packages are backwards compatible as these releases are reserved for bug fixes.
For minor releases, the second digit is incremented and the third is reset. The latest version following a minor release would be 1.1.0. These packages are backwards compatible as these releases contain new features.
For major releases, the first digit is incremented and the subsequent digits are reset. The latest version following a major release would be 2.0.0. These packages are NOT backwards compatible as these releases contain breakable code.
More information on semantic versioning can be found here.
NPX
NPX stands for Node Package Execute. Unlike NPM, we can use NPX in the command line to directly execute npm packages. A common use case for NPX is when we run npx create-react-app <path-to-install> to quickly set up the front-end React environment for development.
When we use NPM, we do not actually execute any packages, we simply install and manage them.
NPX also comes with the Node.js installation and NPM.
Summary of the Key Components of NPM
- Packages: Allowing for the easy integration of code into the JavaScript project. Many third-party packages exist inside the NPM registry and can be installed locally or globally as discussed earlier.
- Package Versions: Packages in NPM can be given version numbers and this allows developers to check which one is compatible with their project. This ensures that project dependencies are installed correctly preventing bugs, crashes, and so on.
- The package.json File: A key file that tracks all the dependencies and their respective versions. If a developer needs to know what dependencies are needed to run a project, they can simply run npm install and all the packages listed under the dependencies section will automatically be installed with their correct version.
- Scripts: Inside the package.json file, you can define your own scripts which NPM can interpret and perform requested tasks. This can come handy as some frequently used commands can be long. Defining a script can expedite the development process whether it is for developing or testing.
- Command Line: Operating NPM is mostly done using the CLI. Tasks such as initializing a node environment, downloading packages, running a node application, and much more can easily be done using the CLI.
Code Overview
You can follow along by cloning this repository. The directory we will focus on is /demos/Demo12_Node_Package_Manager. The web application we will work with converts numbers in one format to another.
The three most common number formats in Computer Science are: Decimal, Binary, and Hexadecimal. Between the three of these, the web application supports all six possible conversions between them.
We will be using third-party NPM packages in the back-end to support these conversions and we will see this in action.
For the front-end, here is the main Conversion Page /frontend/src/Components/ConversionPage/ConversionPage.jsx:
We make use of another custom component handling the conversion selection and pass down the selection handler function as a prop.
For the back-end, here is the main controller file handling the six different conversions. Note the various packages used to help expedite the development process /backend/Controller/conversionController.js:
As you can see, we are making use of the hex2dec NPM package to seamlessly allow the converting to and from hexadecimal.
For the back-end server, we see the package.json file detailing information about the project /backend/package.json:
The package.json file is one big JSON object containing the information provided when the node environment was first initialized along with the different packages used in the project.
We are making use of the axios, cors, express, and hex2dec packages in the back-end.
That is all for the code overview! Feel free to explore this section further. However, what we covered highlights the main functionality of this web application.
Demo Time!
For this demo, ensure you have installed the necessary packages in each of the server folders by simply running:
npm install .As discussed earlier, this command will tell NPM to look for the package.json file and see which packages need to be installed in your environment.
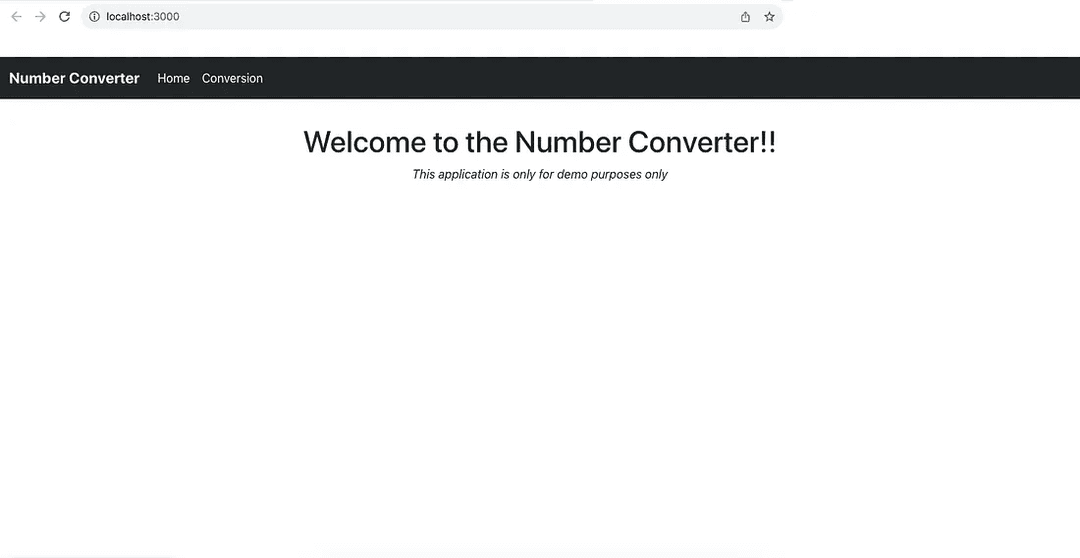
The front-end server will run on port 3000 and the back-end server will run on port 5000.
Upon launch, you should see the following:
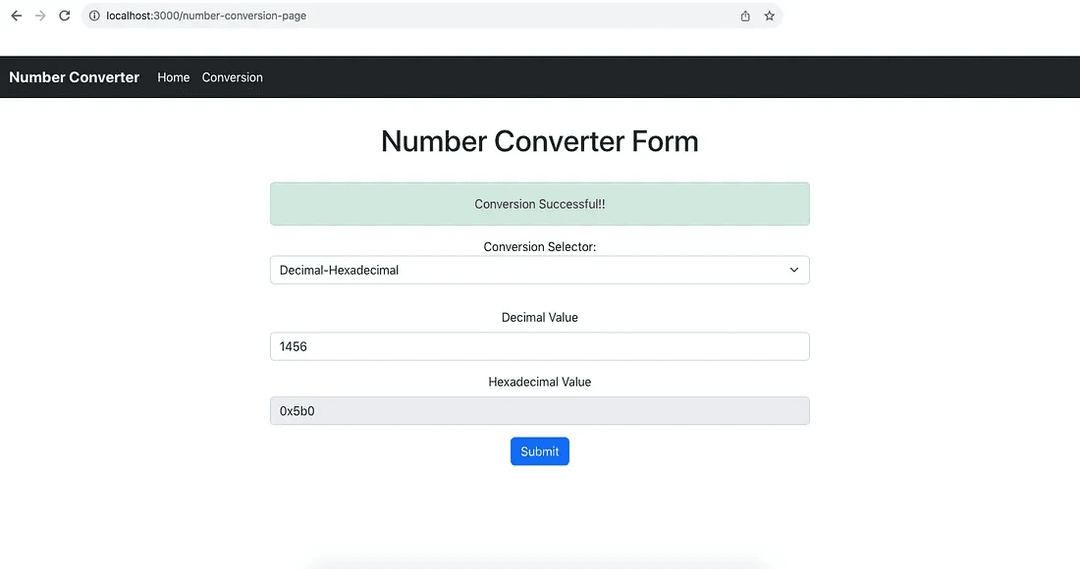
If you navigate to the Conversion section and fill out the Decimal-Binary conversion, you should see the following:

Moving onto Decimal-Hexadecimal..
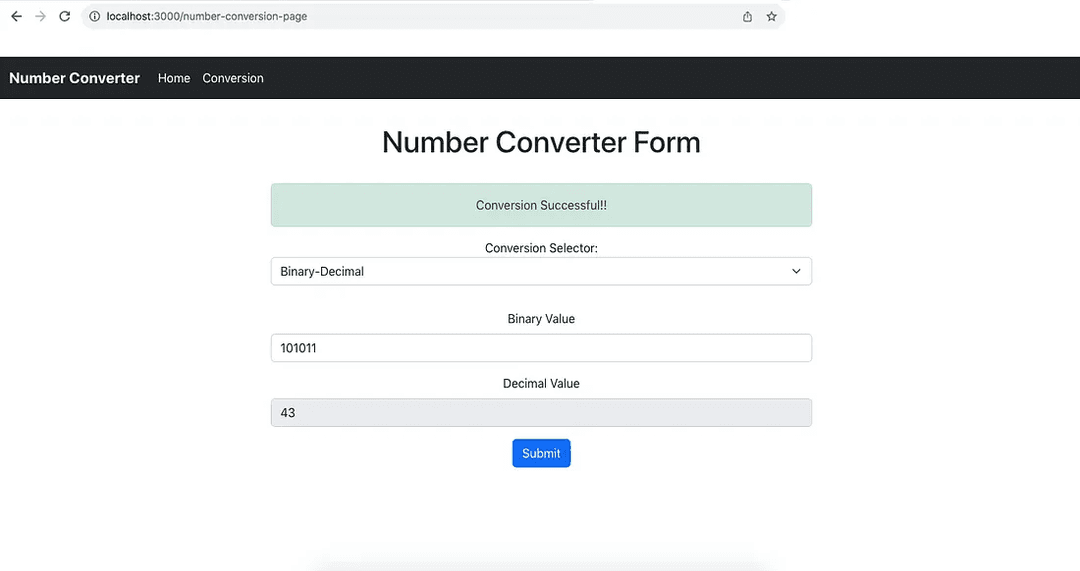
Moving onto Binary-Decimal. Note that you must conform to the numeric standards for each of these formats.
For instance, binary numbers only contain 0s and 1s. Adding anything other than 0s and 1s will not work and the application checks for this:
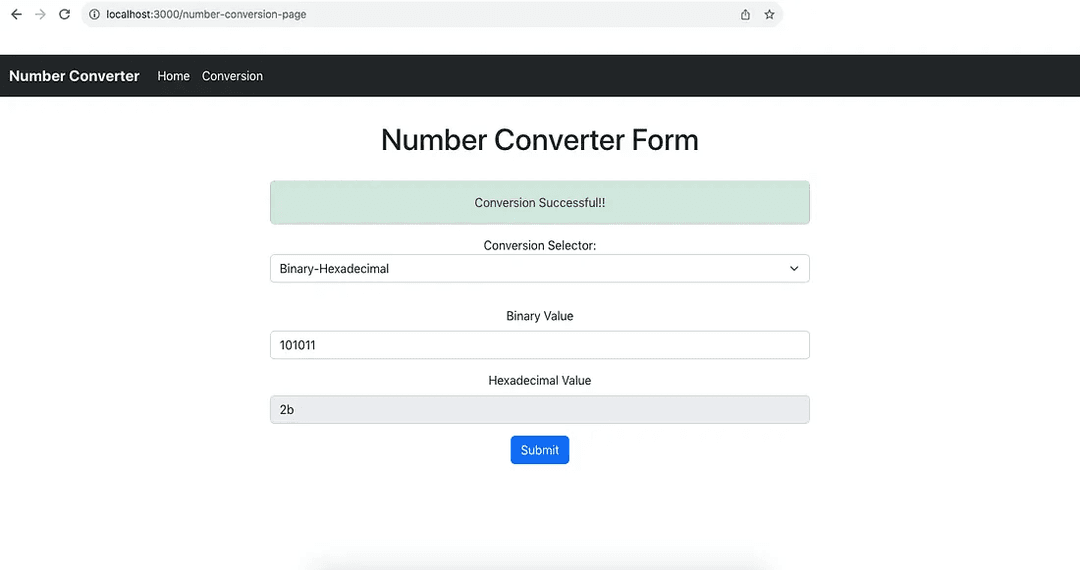
Moving onto Binary-Hexadecimal..
Moving onto Hexadecimal-Binary..
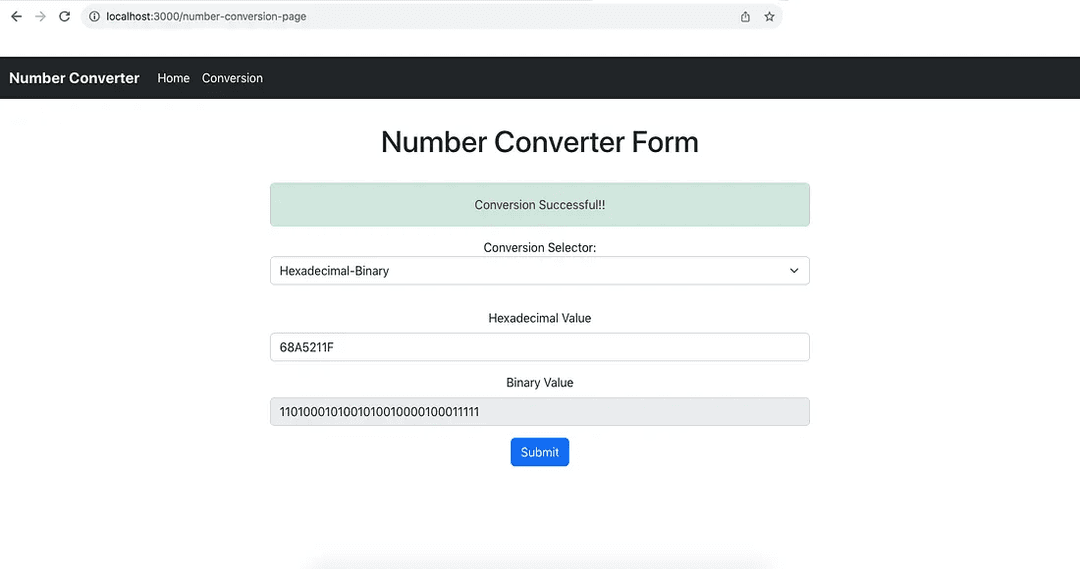
And lastly, Hexadecimal-Decimal..
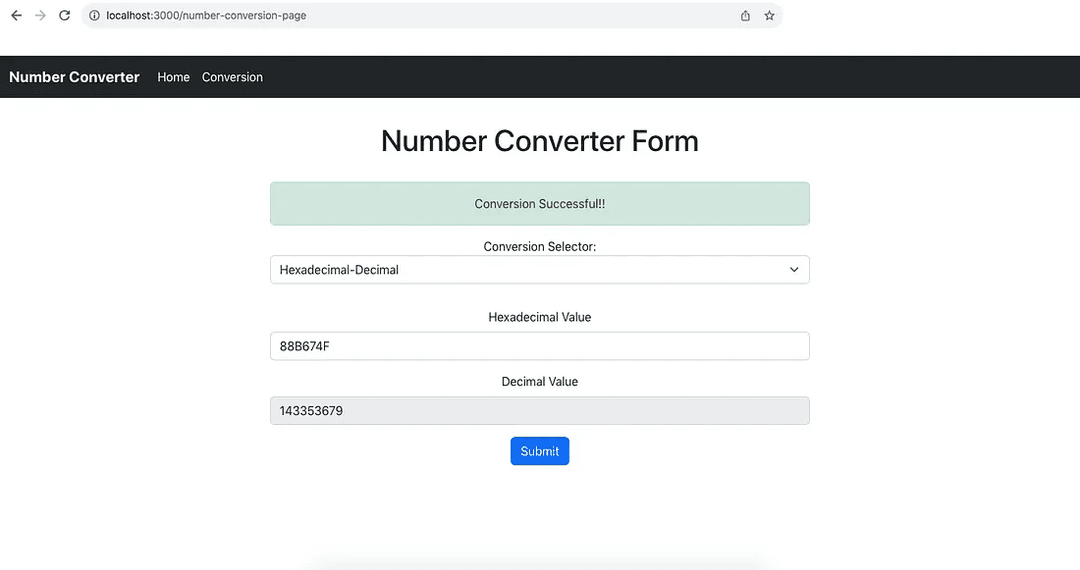
That is all for this demo! Note that you can play around with this application. It is error-proof so it will notify you of an error message if you are try to perform an invalid conversion.
Conclusion
Phew!! That was a lot to cover and quite frankly, I should have done this tutorial much earlier. NPM is quite extensive and so was this article, but I believe it best summarizes the key features of NPM and how it is useful in the JavaScript world.
We covered local and global installation, NPM in the command line, environment initialization, packages, semantic versioning, the package.json file, the node_modules directory, npx, and so much more.
We looked at a demo that involved a number converter application making use of third-party packages to help with numeric conversions.
Here is the link to the GitHub repository used in this article.
I hope you enjoyed this article and look forward to more in the future.
Thank you!