Exploring the HTML Document Object Model and the DOMParser
A look at the HTML DOM and how you can use the DOMParser package to gather and manipulate DOM elements to collect information.

Abdullah Muhammad
Published on February 17, 2024 • 7 min read

Introduction
Most of you reading this article are familiar with the basic constructs of a HTML page. You understand that a basic page consists of the following structure:
<html>
    <head>
        <!-- Page metadata goes here such as title, stylesheets, etc. -->
    </head>
    <body>
        <!-- Page content goes here -->
    </body>
</html>- All content resides within the
<html>tags <head>section consists of information related to the page such as importing stylesheets, title of the page, etc.<body>section consists of the actual page content that is displayed to the user
This is what makes up the Document Object Model or what is known as DOM for short. It defines all elements of a page in a tree structure where each element represents a portion of the page.
We can make use of the DOM when working with JavaScript. For instance, defining actions based on certain events (button clicks, listeners, etc.).
Dynamic content can be generated with the help of the DOM and many modern browsers have the ability to render pages using their own version of it. The DOM is an interface that is independent of any programming language or browser.
This flexibility allows developers to work with different languages to interact and manipulate the DOM.
Given its importance, JavaScript has a built-in Document class that enables developers to work with the DOM seamlessly.
Document Class
The official docs to the Document class can be found here. Make sure to go through it in its entirety.
JavaScript libraries/frameworks including jQuery provide the Document class out-of-the-box.
The class consists of several instance properties as well as instance functions. A no-argument constructor is used to instantiate a Document object.
The following are some of the most commonly used properties/functions:
- rootElement — Returns the root element of the document
- body, head — Returns the body element of the document and the head element of the document respectively.
- getElementsByTagName() — List of elements by their tag name
- getElementsById() — List of elements by their ID
- getElementsByClassName() — List of elements by their class name
“Wait, how does the Document object know what elements to return if no information has been passed to it?”
The Document object consists of the loaded web page in the browser and is the starting point of working with the DOM.
As mentioned before, the DOM represents web pages as tree structures. This means that certain elements are children to others and the main parent of the Document is the root element itself.
Several third-party packages exist which help traverse and manipulate the DOM. These can come handy if the built-in Document class is not sufficient in certain use cases.
DOMParser — Web API
The DOMParser API is commonly used to traverse a HTML Document. It consists of the parseFromString() function which enables one to pass in a string representation of the entire HTML Document.
The function returns a HTMLDocument object which is the tree representation of the actual page. Each element is represented as a node and allows one to traverse the tree using helper functions.
There is also a Node interface which inherits from the HTMLDocument class and provides the following properties and functions:
- childNodes — Returns a list of nodes containing all children of a node
- firstChild, lastChild — Returns the first child and last child of a node
- nodeType — Returns a number presenting the type of node. Information can be found here (several types exist such as text, element, attribute, etc.)
- nodeValue — Returns the value of the current node
- getRootNode() — Returns the root node in the context of the document
- hasChildNodes() — Returns true or false depending on if the node has children
These are some of the many instance properties and functions provided by the Node interface which can help with traversing and manipulating the DOM.
A great use-case for the DOMParser is web scraping. You can make use of a web scraper API (there are several out there) which will return a web page as a HTML document.
After that, you can use the DOMParser to extract and manipulate data from the DOM.
In fact, that is what I did when I created the Medium.com audibles tool. I made use of this web scraper API and the DOMParser to retrieve, extract, and create audio files from non-paywall articles for users.
More information related to this project can be found here.
Code Overview
We will work with the Document class as well as the DOMParser in this section of the tutorial.
Link to the GitHub repository is here. The directory we will work with is /demos/Demo37_Document_Object_Model/backend.
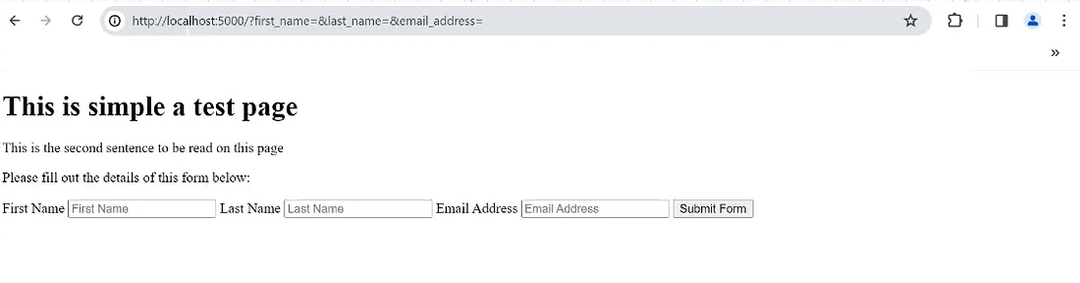
Below is a snippet of code which contains a basic form and displays an alert each time a button is selected /views/SimpleWebPageJavaScript.ejs:
We make use of the Document class by first fetching the element we would like to work with using the getElementsByTagName() function. This returns an array of elements with the specific tag name.
Since we are working with the button tag and we only have one button, we simply return it using the first index. After that, we add an event listener which listens for a click and displays the alert.
We can test this by running the main server.ts file /backend/server.ts:
There is only one page to display so we can render this using server-side rendering (SSR). If you are not familiar with server-side rendering or view engine templates, please refer to this tutorial before proceeding further.
It gives a nice rundown on what they are and more specifically, details related to the EJS view engine template.
Ensure you have the node_modules directory installed by running npm install in the /backend directory. Once that is complete, simply run the following command:
npx ts-node server.tsCheck http://localhost:5000 in your browser, it should yield the following:
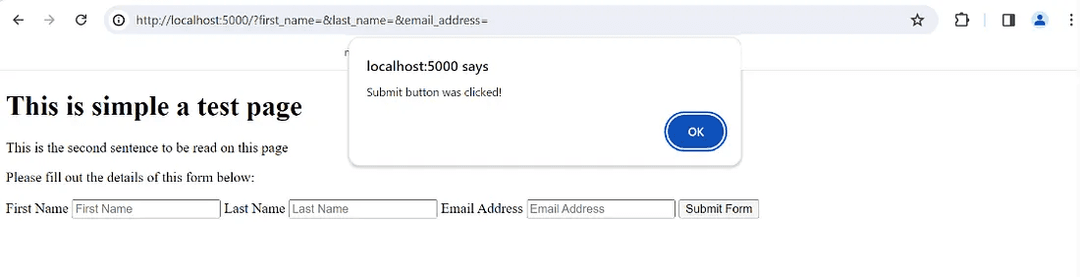
Selecting the Submit Form button should display the following alert:
The Document class provides a simple way of accessing and manipulating the DOM.
Working with the DOMParser is where things get interesting. In the same /views folder, you will find an EJS file containing the same code without the embedded JavaScript.
It is called SimpleWebPage.ejs and it looks like the following:
We will use this file for the purposes of web scraping. All text on this page will be written in a separate .txt file using the fs module.
The implementation can be found here in the documentParser.ts file:
We read the EJS file located in the /views directory and pass in the file text as string data to the DOMParser using the parseFromString() function. We also set the type of format we would like the data in.
After that, we start from the root element using the documentElement property and traverse through the tree from that entry point. We check to see if any child nodes exist using the hasChildNodes() function.
If no child nodes exist, that means the document is empty and we create an empty text file.
If child nodes exist, we make use of the parseDocument() function which starts from the root node and works through the tree using the childNodes property on each node.
We find the node type by accessing the nodeType property.
If the nodeType is element (value is 1), we know children exist so we make recurring function calls to append text until we reach a nodeType of text.
If the nodeType is text (value is 3), this means we have reached the end and simply append the node value using the nodeValue property of the node.
That is all there is to the web scraping process. The actual text file is not in the project, but you can generate it by running this file:
npx ts-node documentParser.tsThis should yield the following text file (located in the same location as the documentParser.ts file):
This contains all the content of the SimpleWebPage.ejs file. We successfully traversed through the HTML document and gathered all the text together!
This concludes the code overview of the Document class as well as the DOMParser.
Conclusion
We explored the DOM (Document Object Model) in detail and learned about the DOMParser.
We explored the Document class as well as the Node interface for working with HTML elements and looked at web scraping as a good use case.
In the list below, you will find links to the GitHub repository, Document class, DOMParser, and the Node interface:
As always, I hope you found this article helpful and look forward to more in the future.
Thank you!