Exploring Web Application Deployment Options
Explore the different web application deployment options that are available to you and learn of the use cases that exist for each option.

Abdullah Muhammad
Published on October 4, 2023 • 7 min read

Introduction
This tutorial will be short and sweet and will build on a previous one related to application deployment using AWS Amplify.
We will look at three different deployment platforms for this tutorial:
- Vercel
- Netlify
- Google Firebase
The primary focus will be using a front-end application for deployment. The web application is built using React.js and is a rather simple one.
You will need to clone this repository and have it pushed to your own GitHub account.
Vercel
Vercel is a popular web hosting service company that is known for founding Next.js, a popular SSR framework. Next.js incorporates the use of React.js and blends in client-side code with server-side code.
It is a full-stack framework for production.
Vercel offers deployment options for your web applications similar to what AWS Amplify offers as well. It is optimized for Next.js application deployments, but efficiently deploys applications developed using other libraries and frameworks.
Assuming you have a GitHub account you can connect your account to Vercel using the following:
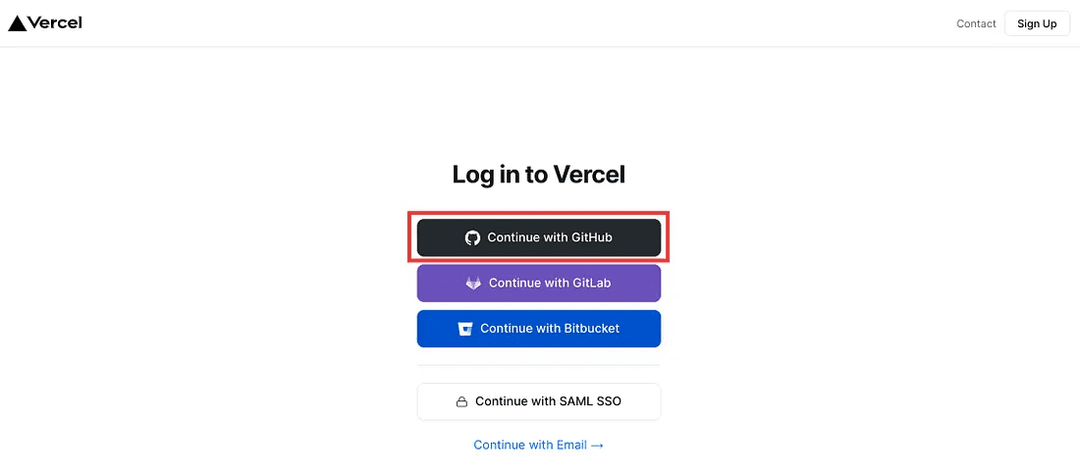
Once you have it selected, you will be prompted (assuming this is the first time) to allow Vercel to connect with your GitHub account.
You will need to approve of this step in order to use GitHub with Vercel. Once that is complete, you will be navigated to the homepage like this:
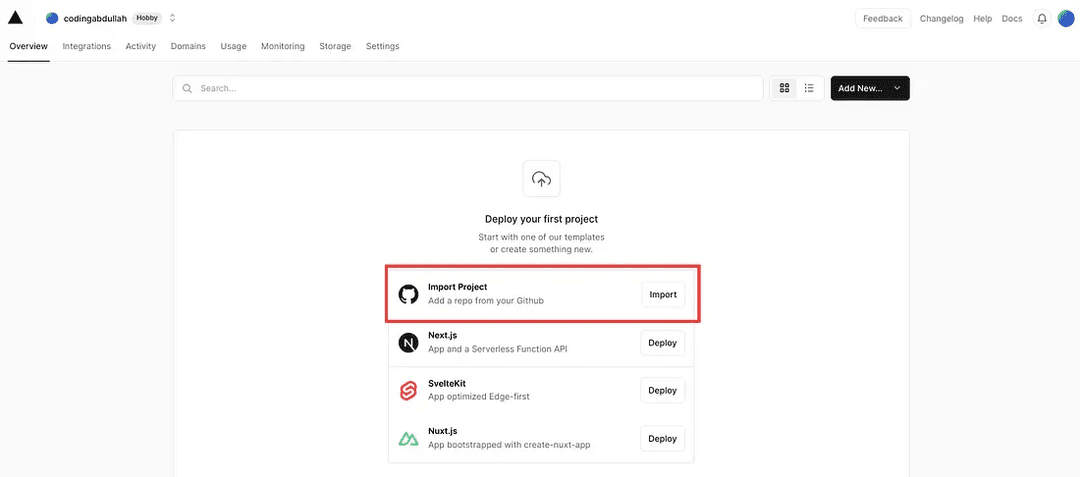
Selecting import will allow you to approve repositories to insert:
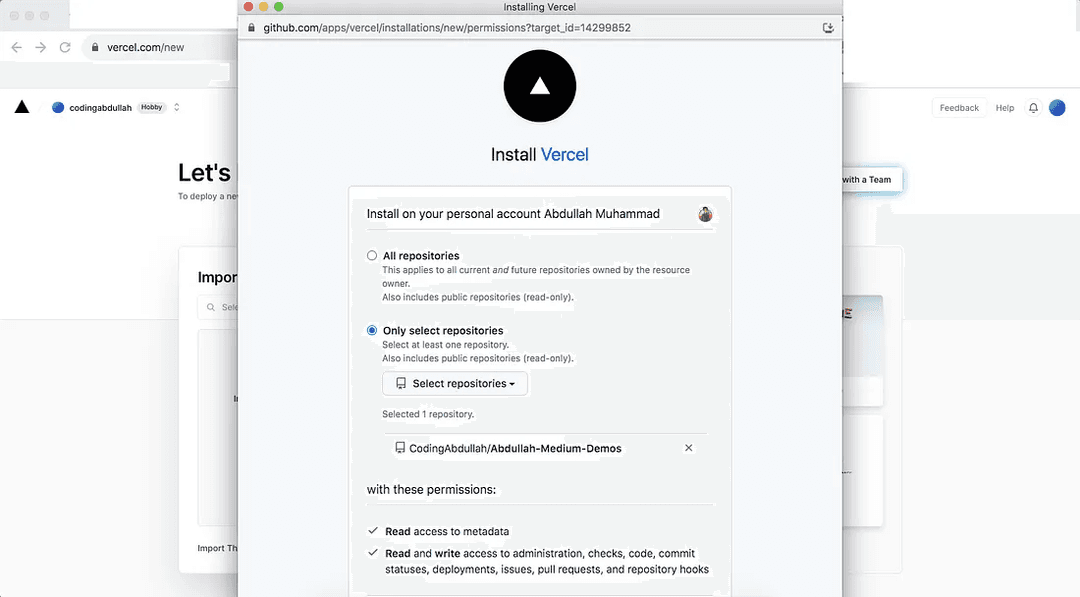
Assuming you have cloned and pushed the repository above, you should see it here and you can either select it or allow all repositories to be selected.
Once you have that complete, select Import. After that, you will need to choose which repository you want to work with.
In this case, it will be:
Demo21_React_App_Deployment_Options
When you are going to select the root directory, you will need to select this and a dropdown to select the frontend directory:
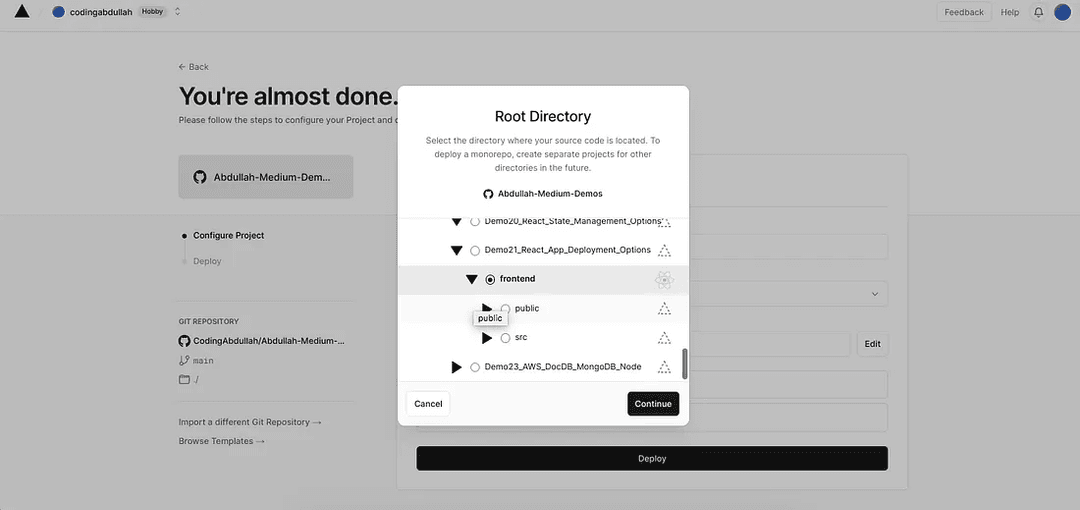
Vercel is smart enough to detect that it is a React.js application as seen by the logo and created using create-react-app.
Once all that is complete, the configuration setup page should look like this:
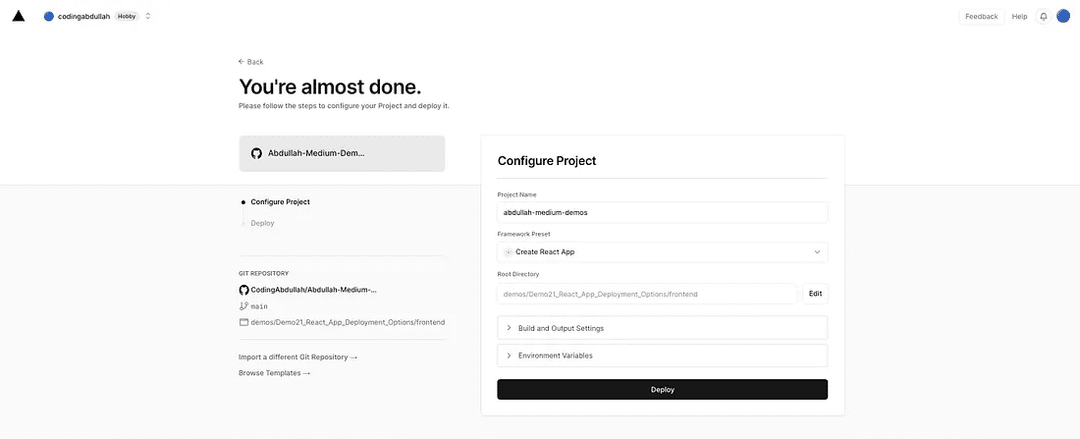
There are no environment variables being used here and the build settings can remain as they are, proceed to Deploy.
Assuming the build and deployment steps complete successfully, you should see something like this:
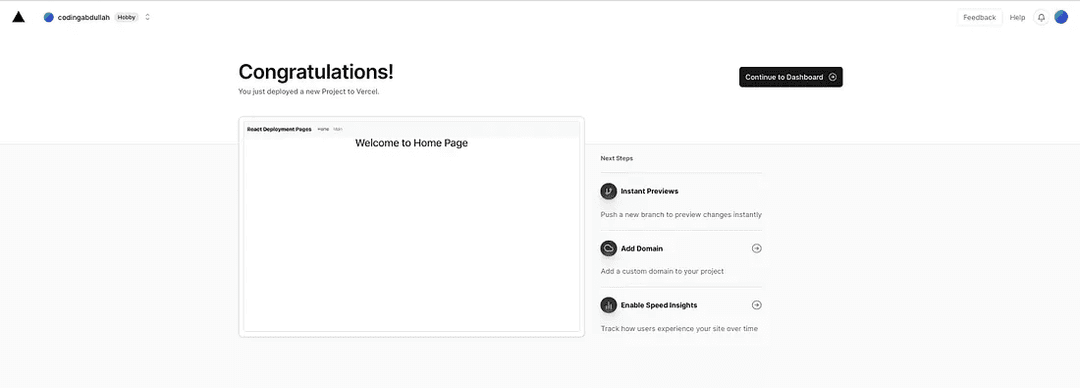
The application will be deployed to: <project-name>.vercel.app.

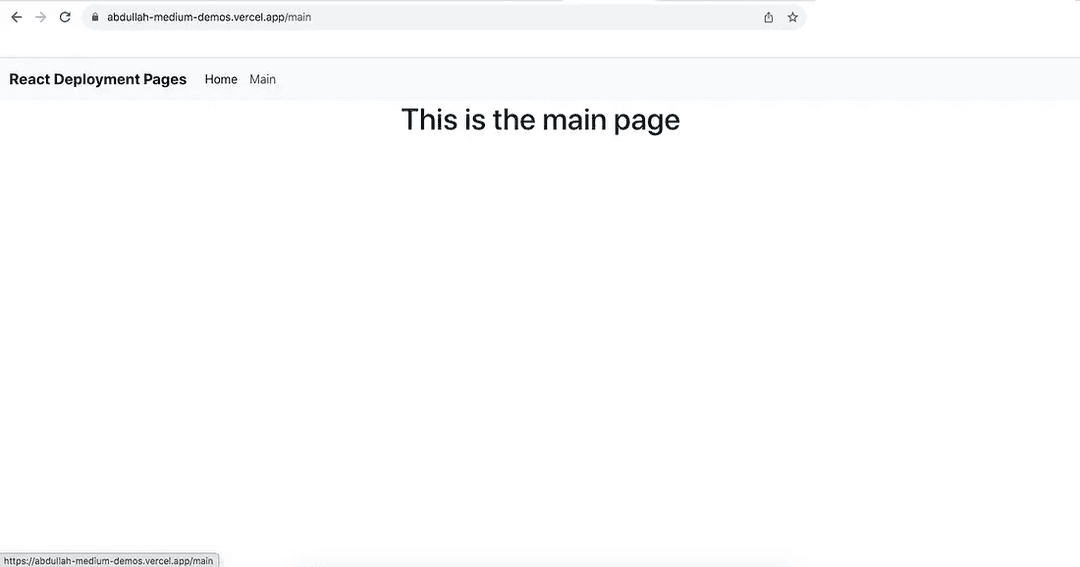
You can view this deployment on the web for yourself: https://abdullah-medium-demos.vercel.app/.
Of course, I did not change the default name of the project, but if you want to deploy this application on your own, you can do that.
Like AWS Amplify, we are assigned this URL by Vercel, but we can purchase a domain and add that instead.
This is the home page of the deployed application and we can select the other option to display the second component:
And that is essentially all there is to Vercel deployment. You can check out additional features by visiting their official site here.
Netlify
Netlify is another company that offers the hosting services. It allows for the development of server-less back-end websites which enable dynamic content.
We will focus on using the basic project from above for deployment using Netlify. Similar to Vercel, you will need to create an account and verify that Netlify is allowed access to your GitHub account:

As you can see, Netlify offers options such as domains, integrations, builds, and sites. We are going to import an existing project. To do so, Netlify must be given access to your GitHub account:
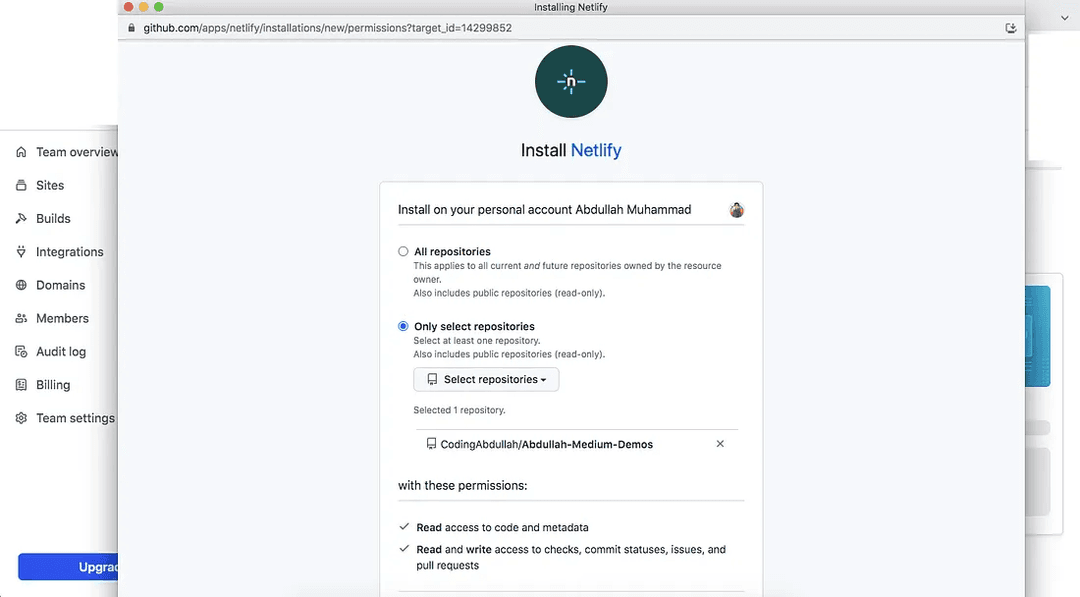
You will need to select which repositories Netlify can access and just like before, you will need to select the repository where you have cloned and pushed mine.
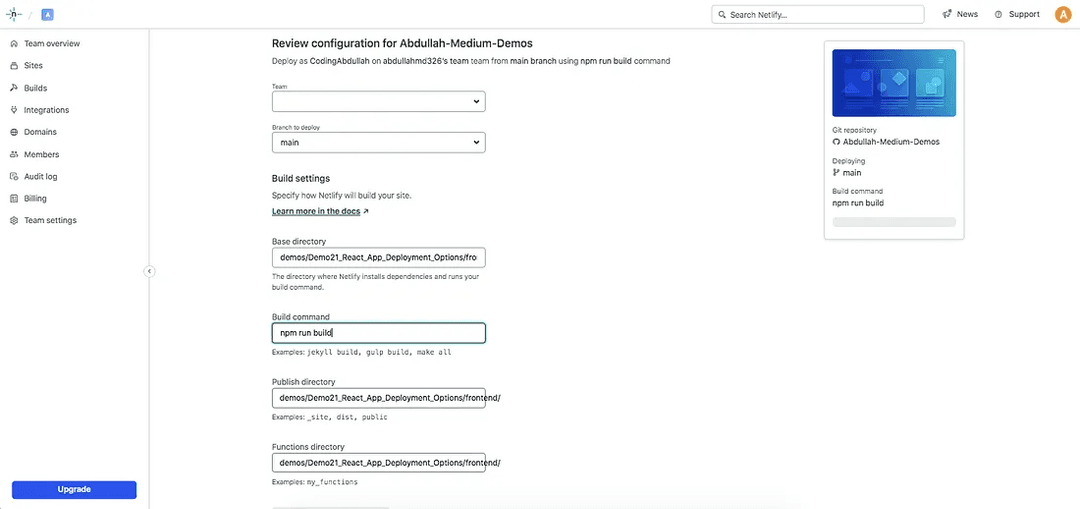
Once that is complete, select the repository on the main page and fill out the details.
We need to specify the /demos/Demo21_React_App_Deployment_Options/frontend directory as the desired location and npm run build as the build command:
Once deployment is complete, you should see something like this (selecting the latest production deploy):
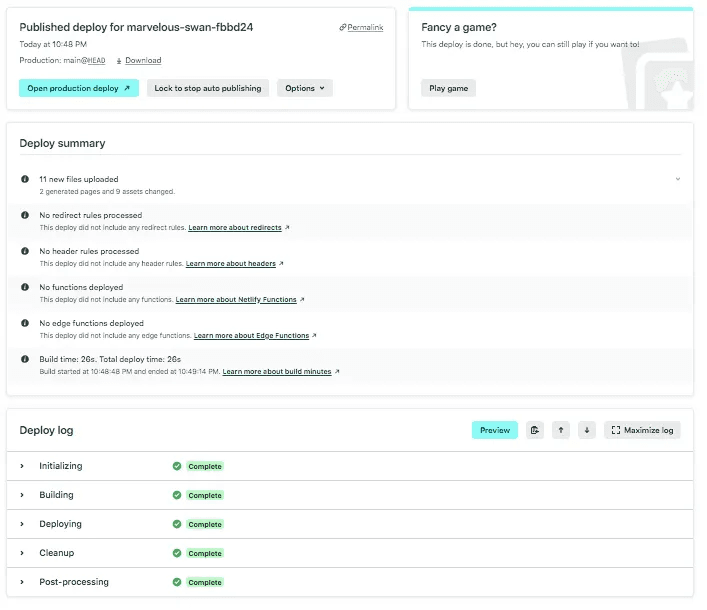
Once all that is complete, you can select the Open production deploy option at the top and it should open the link to this site: https://main--marvelous-swan-fbbd24.netlify.app/.
Like AWS Amplify and Vercel, we get an assigned URL from deployment, but we can assign a custom one instead. We will leave that part out for now.
That is all there is to Netlify deployment!
Firebase
Last but not least, we look at Firebase deployment. You will need to have a Gmail account setup in order to use the Google Firebase service.
Assuming you have one (who does not?) you will need to create a new project on Firebase.
Here is how, once created, what it looks like:
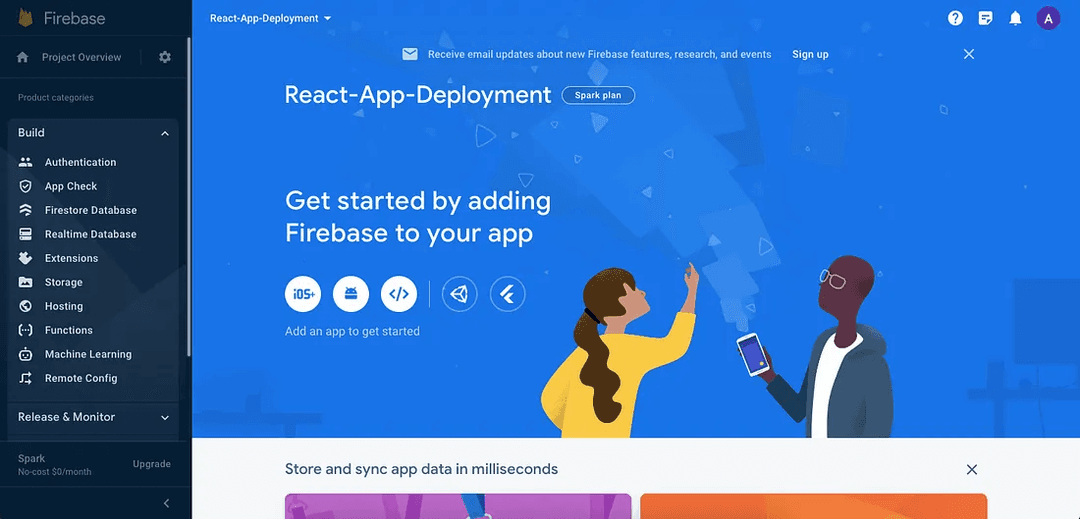
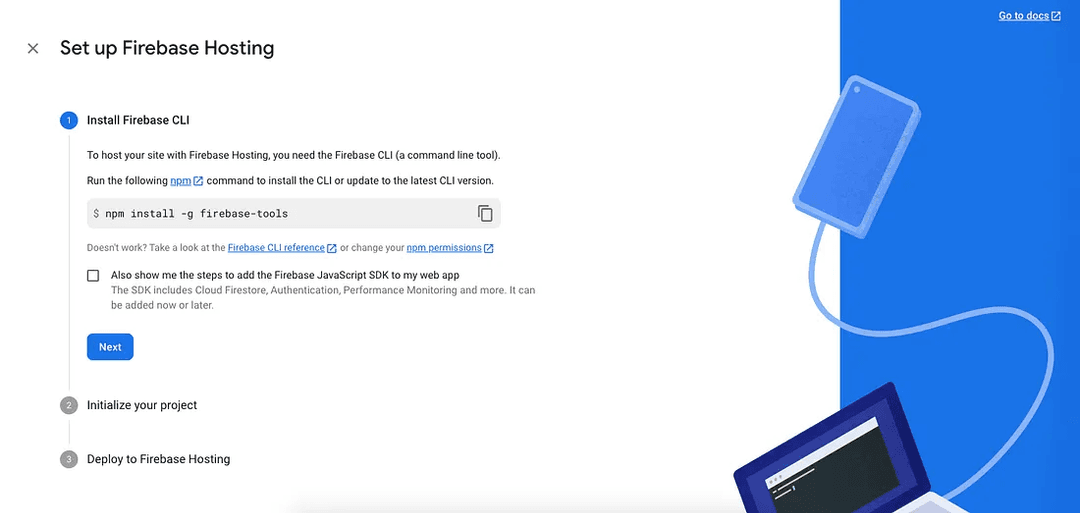
Inside the build section, select the Hosting option. Once you have selected it, you will be presented with options to setup Firebase hosting.
You will need to install firebase-tools and authorize it to use your Gmail account for hosting:
Once you install the package globally, proceed to initialize a project:
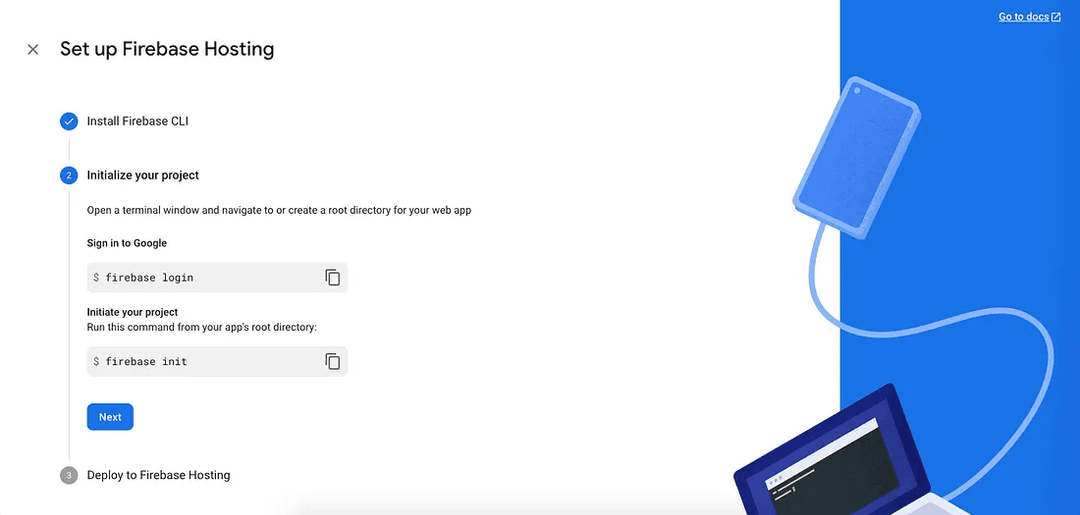
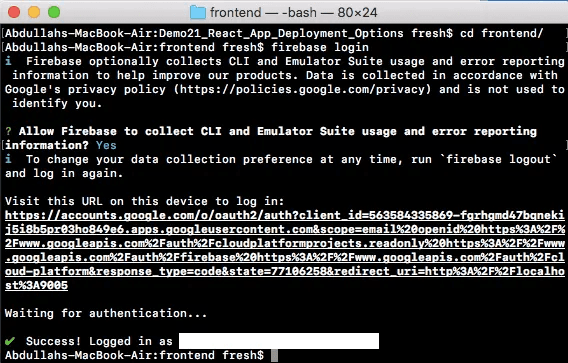
You will need to authorize Firebase to access your Gmail account. Using firebase login will allow you to do just that.
Make sure you are under /demos/Demo21_React_App_Deployment_Options/frontend:
After that, proceed to initialize Firebase inside the directory as mentioned above using firebase init:
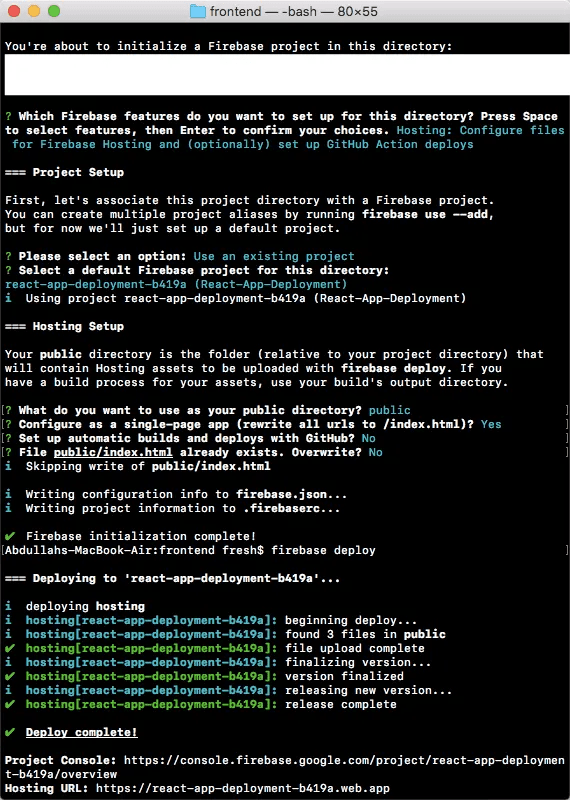
You will need to select what you want Firebase to do (in this case, hosting) and determine what will be the public directory and so on.
Once all that is complete, you will need to run firebase deploy to deploy the site.
Upon completion, you will receive a hosting URL to the site you deployed in the form of: https://<project-name>.web.app.
That is all there is to using Google Firebase for web application deployment! Just like the rest, this is an assigned URL and we can add a custom domain if we want to.
Conclusion
All in all, we explored web application deployment using other platforms aside from AWS. There are countless other ones out there we could have used as well such as Heroku and who can forget Microsoft Azure.
We walked through using Vercel, Netlify, and Google Firebase for application deployment and noticed that there is not much of a difference between the processes and the platforms.
IT is expansive and these companies differ in scope and what they specialize in. Nonetheless, there is no right or wrong way to go about application deployment.
Often times, it comes down to preference more than anything else.
In the list below, you will find links to the repository used in this article and the cloud platforms we explored in detail for deployment:
I hope you found this article helpful and look forward to more in the future.
Thank you!